EN
EN  SV
SV PT-BR
PT-BR ES
ES
Some customers may prefer to keep their domain name at different providers for branding and trust purposes. Document360 gives you the option to “map” your existing domain to your documentation website.
How the Documentation Project URL Works in Document360?
When you create a project in Document360, by default, the address of your project is a Document360 sub-domain. So, when you create a project for a product – ServiceBus360 – the default URL address will be https://servicebus360.document360.com
We have a wildcard certificate for all the projects in our sub-domain (. document360.com). This ensures all documentation websites have SSL security.
An intuitive knowledge base software to easily add your content and integrate it with any application. Give Document360 a try!
GET STARTED
Document360 provided domain
A new Document360 project will use the project name as the domain.
For example, if you have named your project as Project Greenfield, the autogenerated domain by Document360 will be project-greenfield.document360.com.
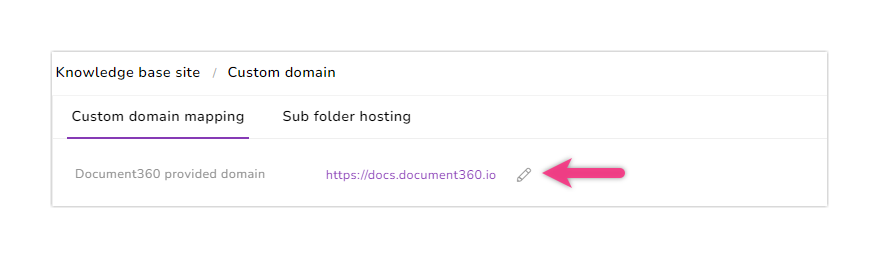
Edit Document360 provided domain
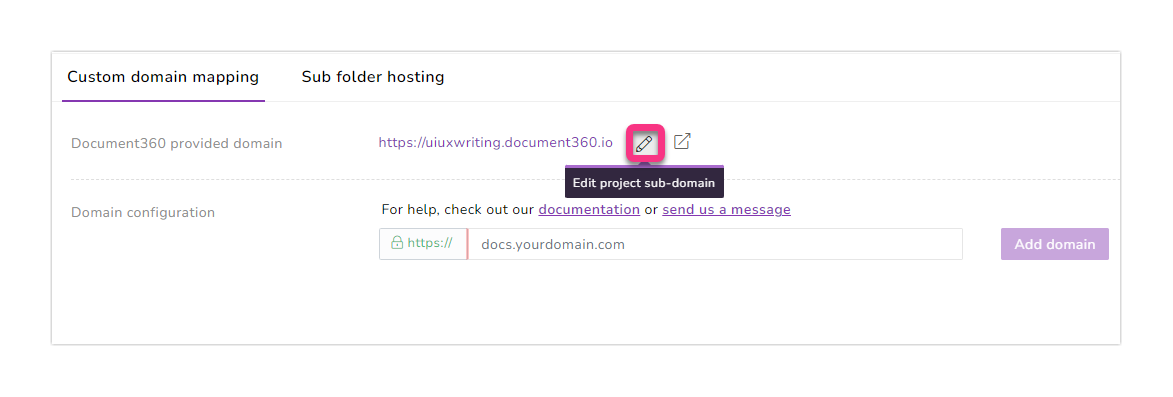
- You can change a custom subdomain by clicking on the Edit project sub-domain (pencil) icon
For example, docsupport.document360.io or troubleshooting.document360.io
- Once you type in your required domain prefix https://yourprefix.document360.io, a check will ensure the new domain is unique and available
- If not available, try a different prefix
- If available, click on the Update button, and your new Document360 provided domain will be live
- Click on the Go to your knowledge base site icon to view the change in site URL
Why Do You Need to Configure Custom Domain?
Customers may want to have their own custom domain mapped to their documentation for more branding and trust.
You can map a sub-domain of your own domain (Example: docs.mycompanyname.com or support.mycompanyname.com) to the default Document360 project address. This process is referred to as custom domain mapping.
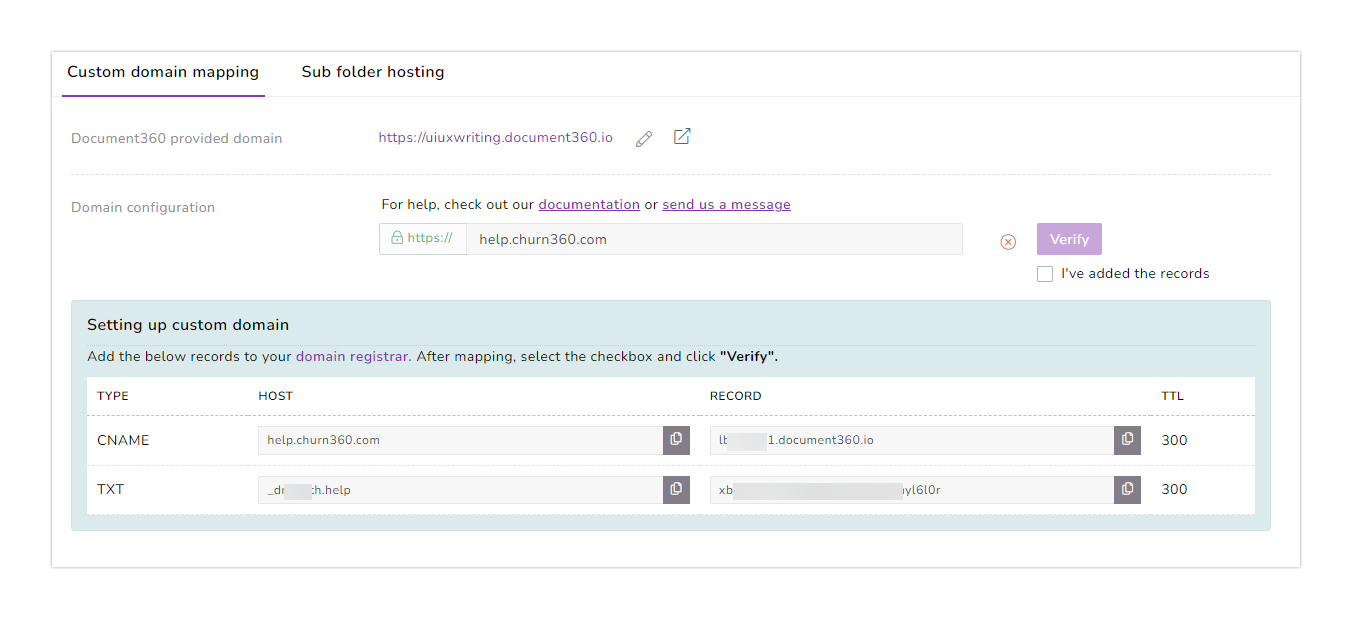
Setup Your Custom Domain Mapping
You need to make sure a CNAME record is created in the DNS zone file in your domain registrar (e.g., GoDaddy).
Some common domain registrars
- NameCheap – Support article
- Domain.com – Support article
- Google Domains – Support article
- Dreamhost – Support article
- Hover – Support article
- GoDaddy – Support article
- Cloudflare – Support article
- Bluehost – Support article
This is an example to demonstrate the CNAME and TXT record mapping for domains registered with Hostinger.
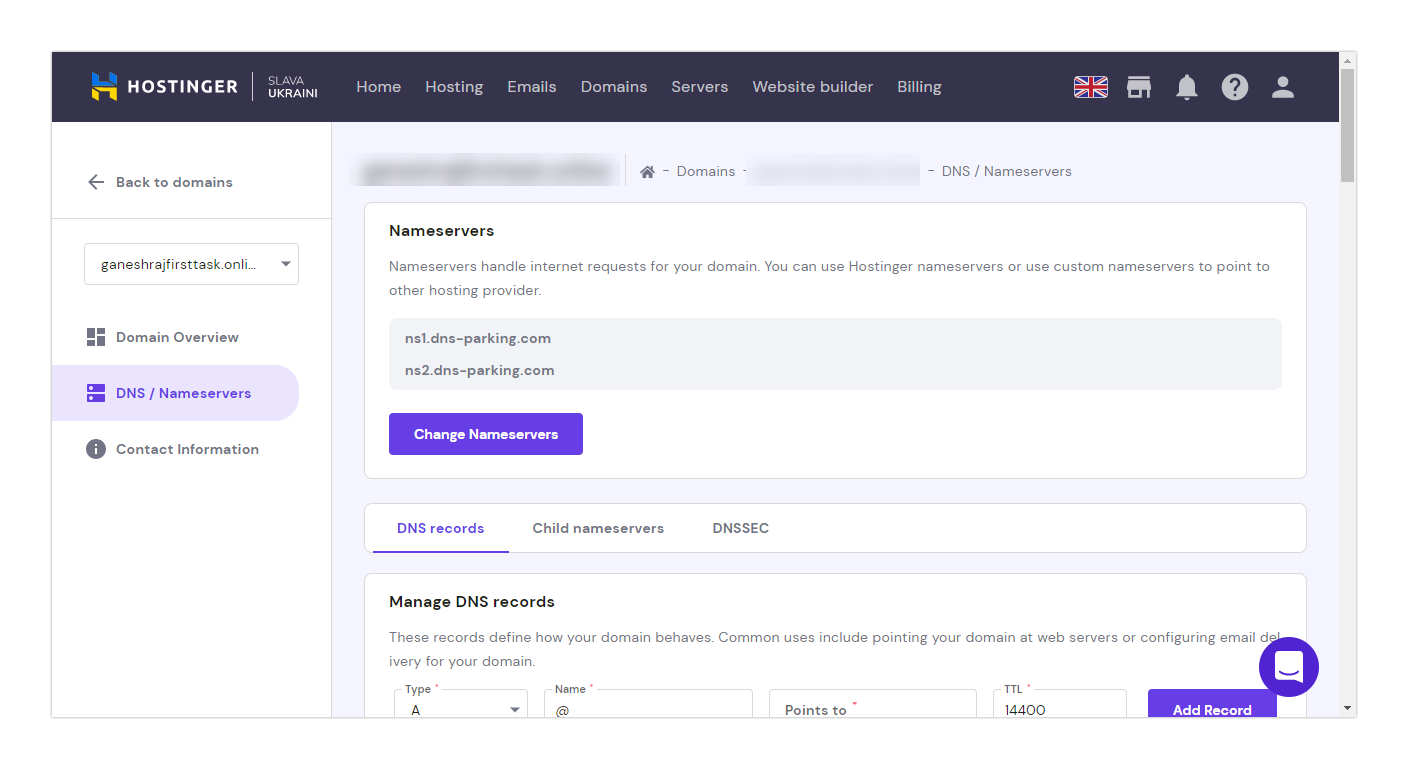
- Go to Hostinger’s domain manage page
- Open the Domains section and select your domain
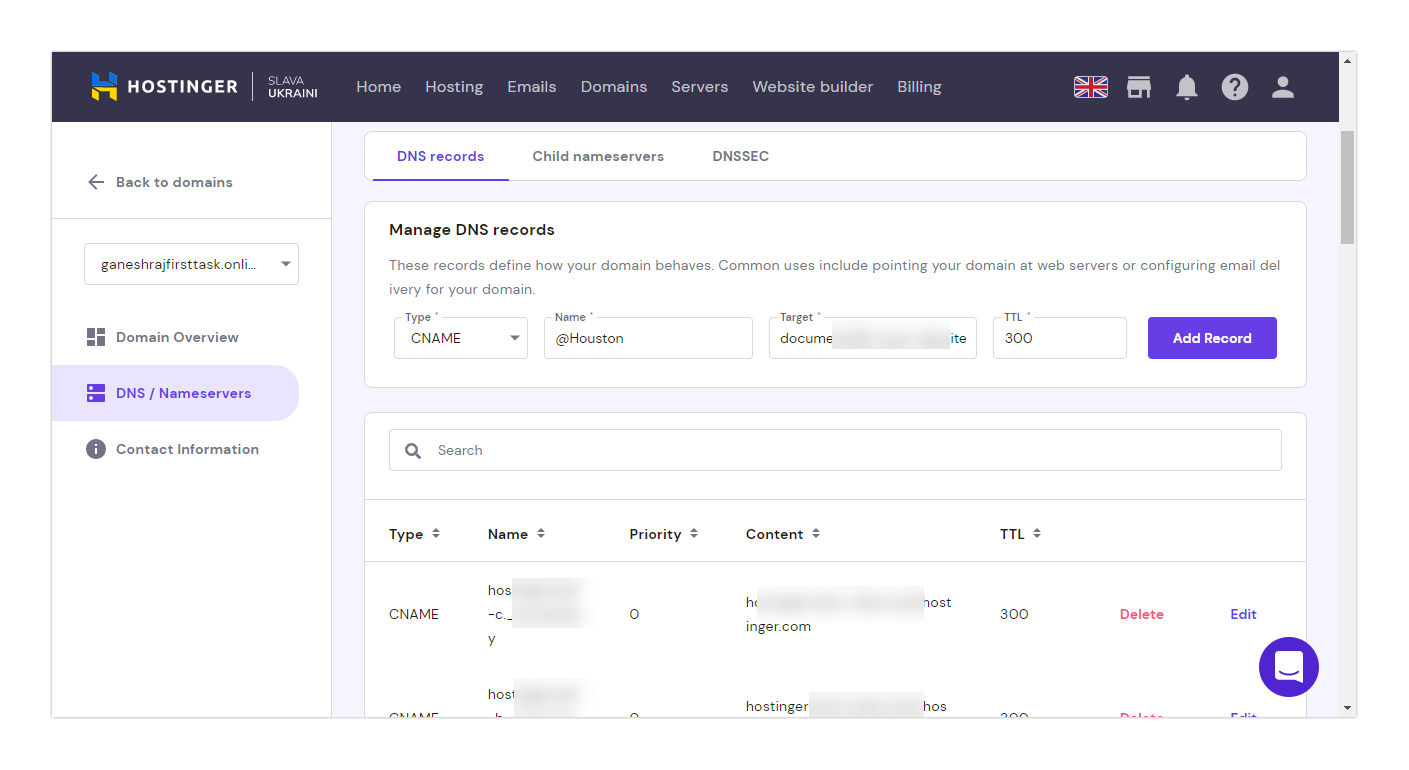
- Now click on the DNS/Nameservers on the left and select the DNS records tab
- Choose the type of record from the dropdown (CNAME/TXT)
- Paste the value copied from Document360 in the Points to field
- Add the TTL (Time-To-Live) value and click on the Add record button
Configure Custom Domain in Document360
To add a custom domain in Document360, use the extensive and elaborate setup guide in the Document360 Knowledge base. We walk you through the entire process of the mapping, clearly explaining what each of the entities means.
Here is the link to the Custom domain mapping help article
Finally, check out Document360 today and make sure your documentation is up to date and has the correct branding and custom domain for your customers!